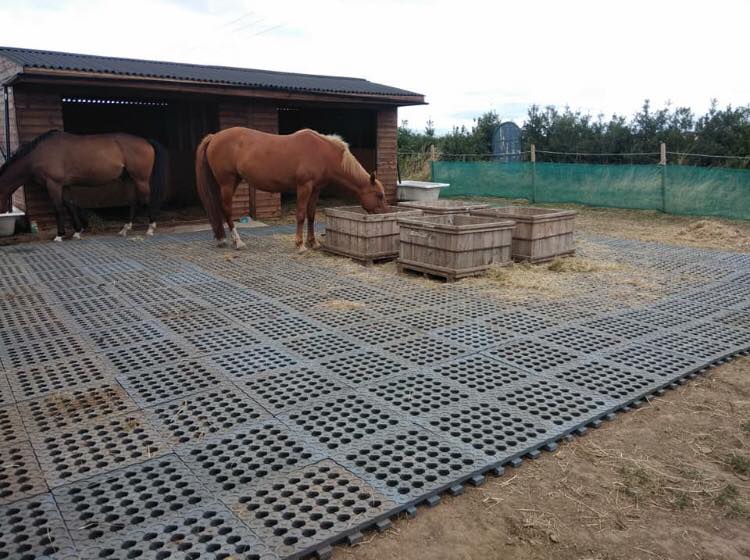
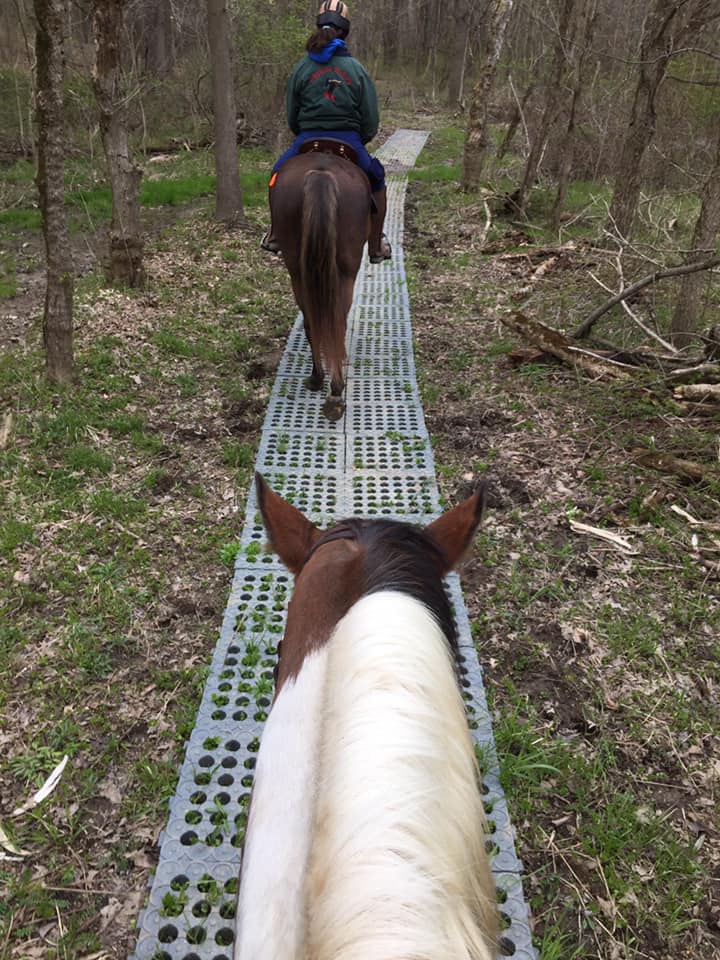
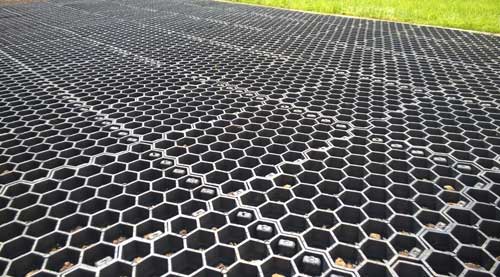
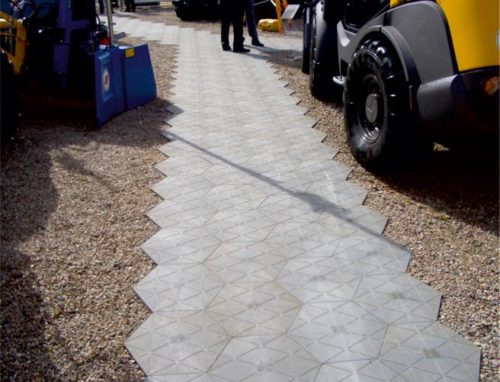
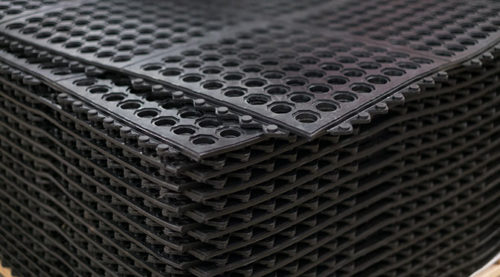
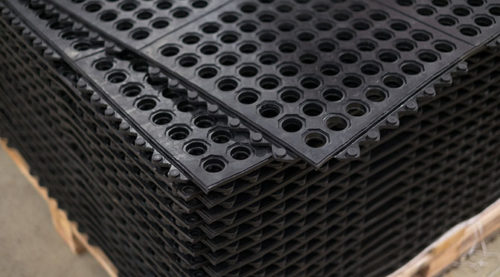
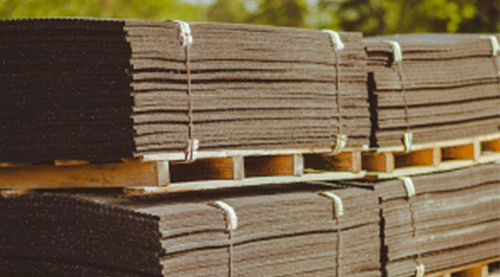
» Ideal aperture size for horses
» Excellent water drainage through the surface
» Durable, non-rotting and weather resistant
» Minimal ground preparation required
» Frost and UV-resistant
» Low maintenance and cost effective throughout the product life
» Interlocking design enables easy and quick installation
» Easy to extend or remove at any time
» Over 21 million square feet installed over past 20 years
Manufactured from 100% recycled plastics
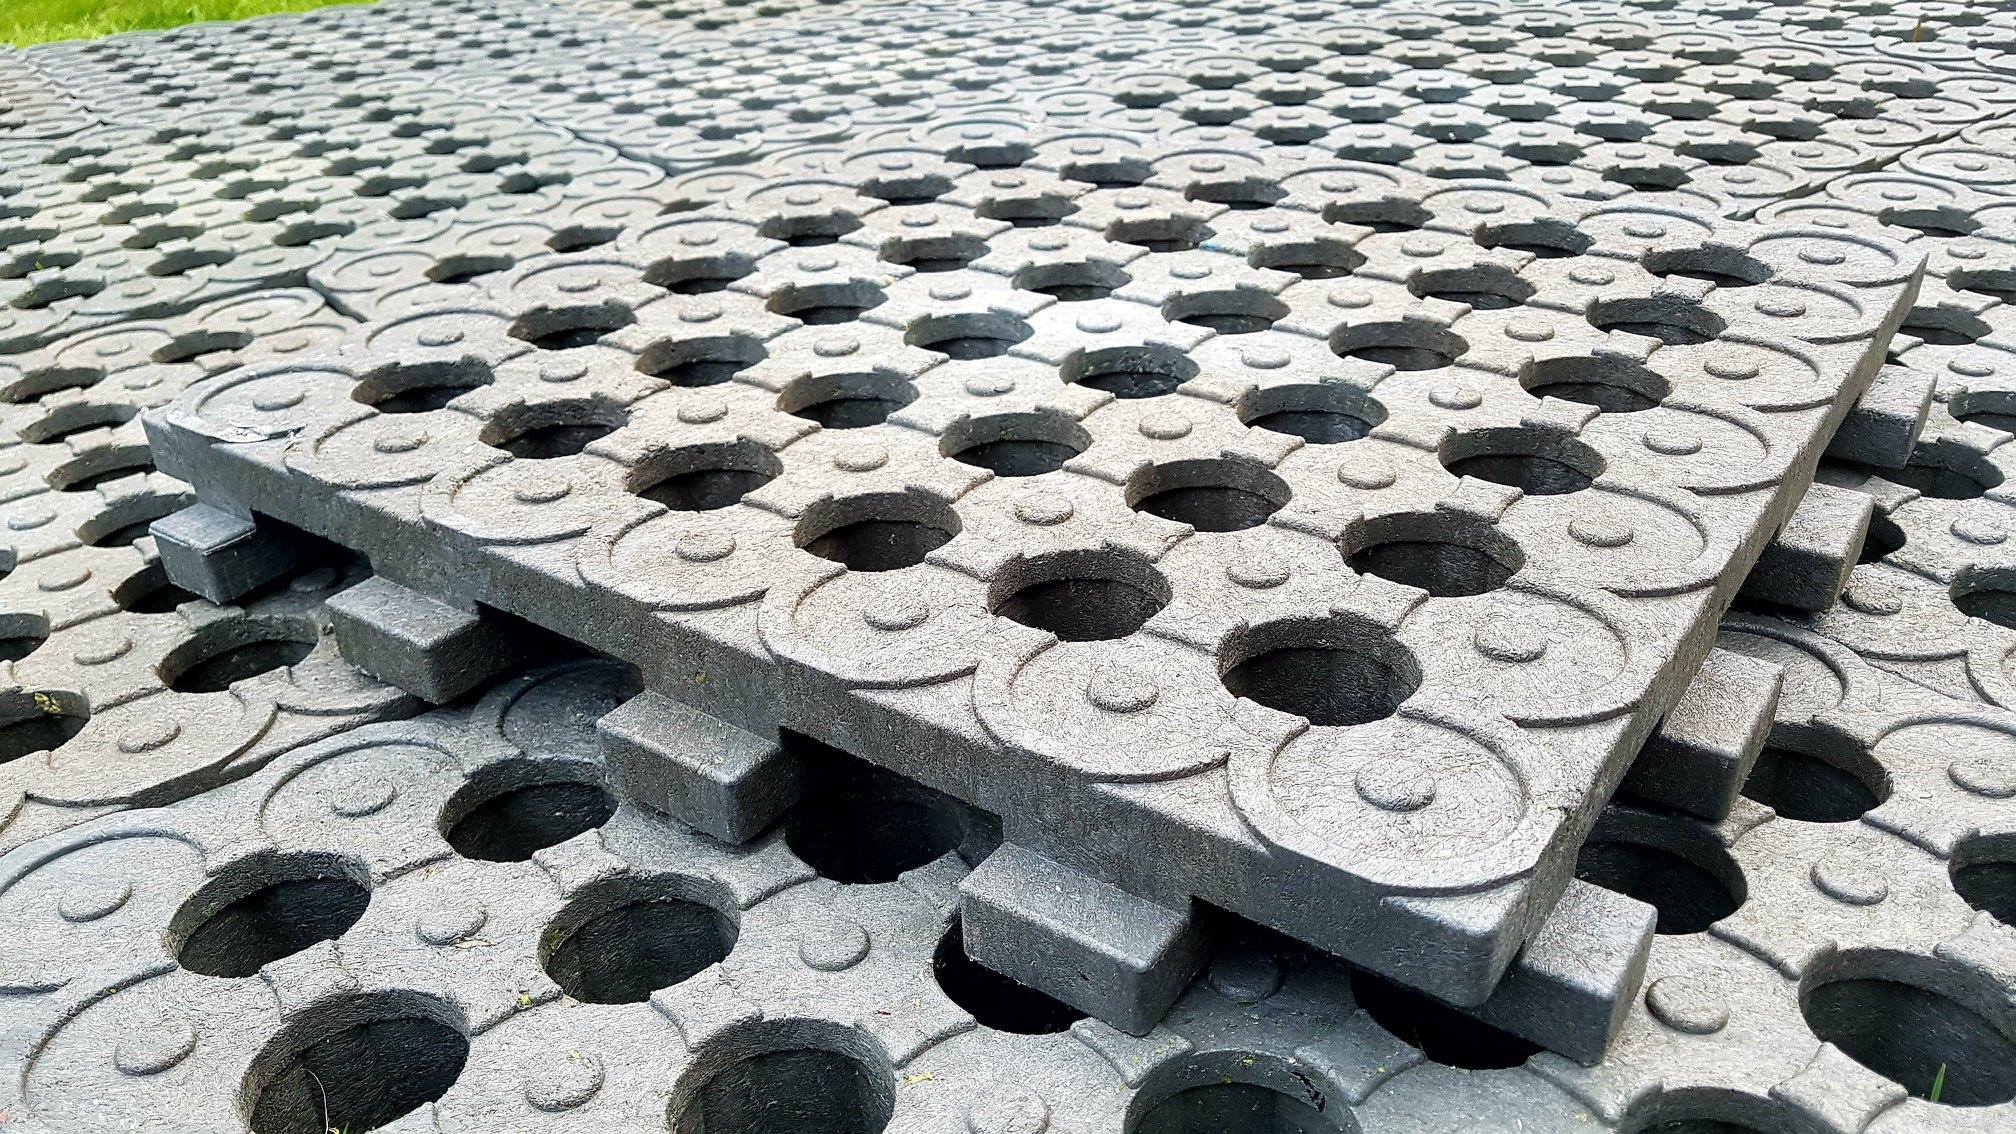
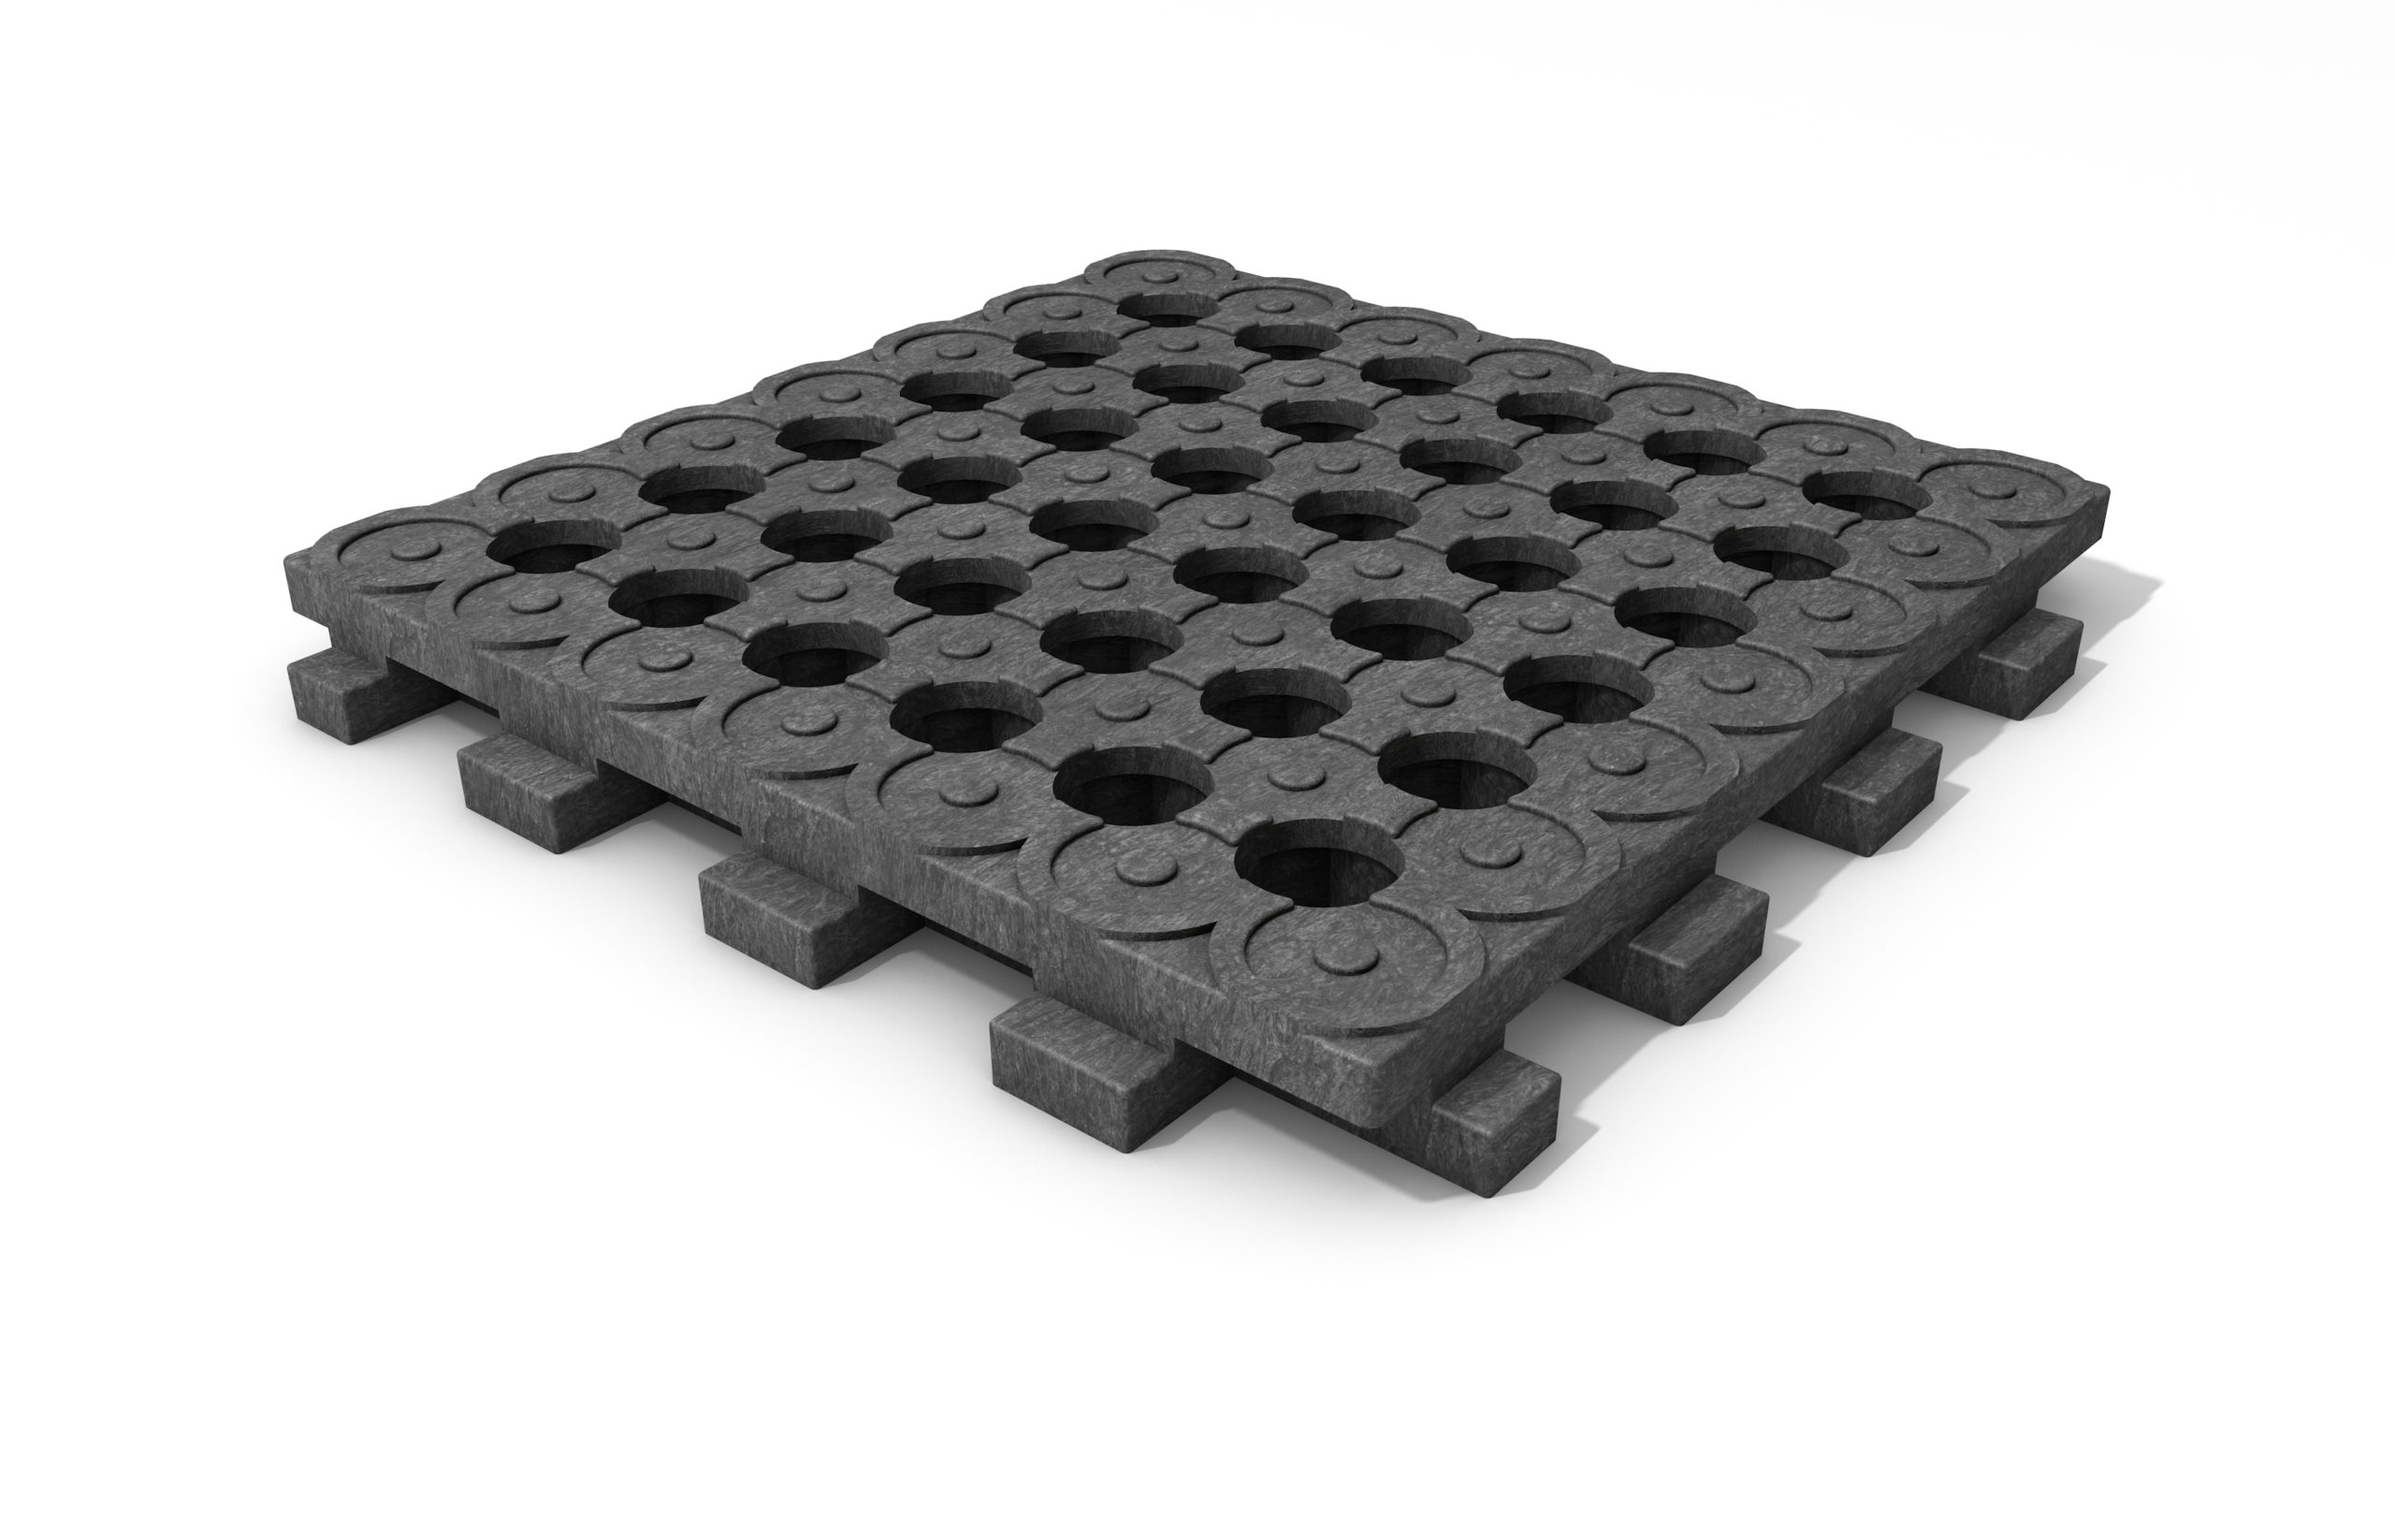
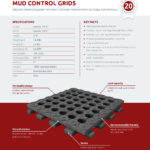
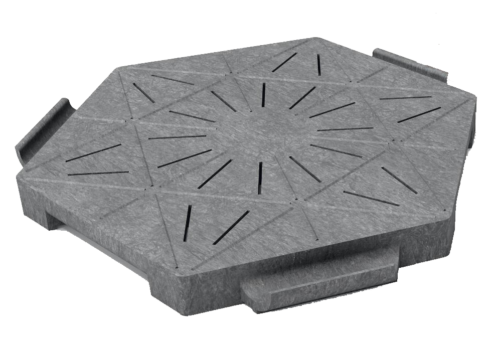
Individual Grid:
Length: ~19.5”
Width: ~19.5”
Height: 2 1/8”
Weight: 15 lbs
Coverage: 2.63 sqft
LAYING INSTRUCTIONS:
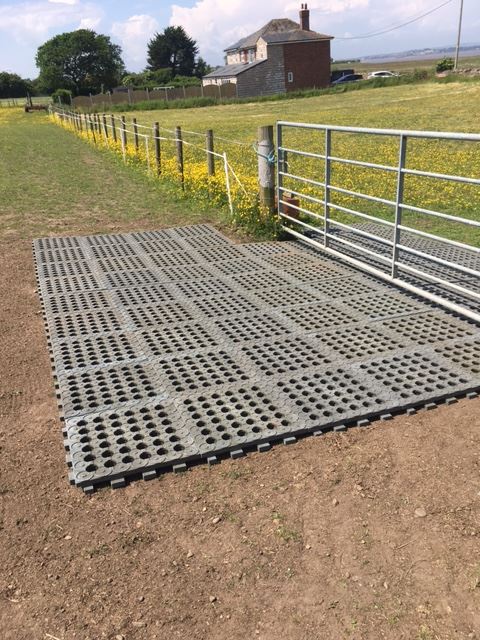
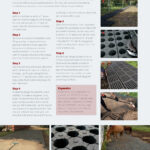
In most cases, including horse or tractor use, Mud Control Grids can be laid directly onto mud without any ground preparation. For very soft ground, longer lasting installations or even just a more attractive finish, follow the steps below:
Step 1
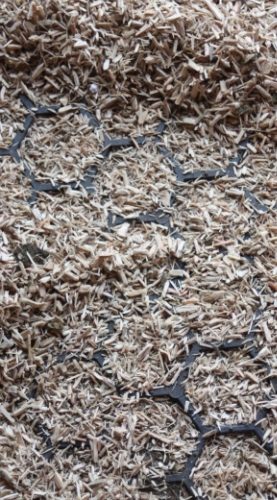
Before installing the grids, a 2” gravel layer will improve support and drainage for very soft ground. A 2–4” layer of wood chips can also be used to create a flexible base.
Step 2
Mark out and level the installation area, filling any dips or depressions with granular material. For soil types like heavy clay, installing a non-woven needle-punched 3.5 oz geotextile (with 6” overlap) will prevent the gradual loss of infill material into the ground.
Step 3
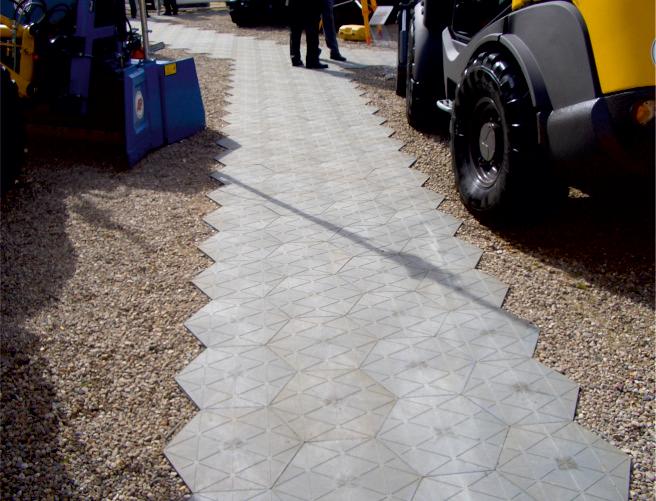
Use a string line as a level and alignment guide (allowing for adjacent edging or fencing). Lay the grids along the line, leaving a ¼” gap between grids. Use the tabs on the Mud Control Grid edges for level alignment.
Step 4
It’s best to stagger the grids for extra stability. To create a staggered bond, begin the second row with a half grid (grids can be cut with a skill or bench saw, just like hardwood). Lay the second row, leaving a ¼” gap between the first row and between each new grid. Use the other half grid at the end of the row. Small adjustments to maintain alignment can be done with a lever.
Step 5
When the Mud Control Grids have been installed, the grid holes can be filled with permeable material. Coarse sharp sand is ideal or ¼–⅝” gravel can also be used. A ton of sand or gravel will fill around 140 grids (375 ft2 ). NB. If using gravel, make sure all gravel is cleared from the surface before use.
Step 6
ALWAYS use a topping layer (sand or similar), especially when Mud Control Grids are to be used by animals or livestock. We recommend a final 2–4” layer of quarried sharp sand – not recycled sand. Top up the sand each year to keep surfaces looking good and in top condition.
Expansion
Mud Control Grids expand by ¼ ” per unit per 50°F/10°C change. The recommended ¼” gap between grids covers a temperature change of over 140°F/60°C. For very large areas, a 2” gap can be introduced every 100 grids if desired.
Leslie Stivason –
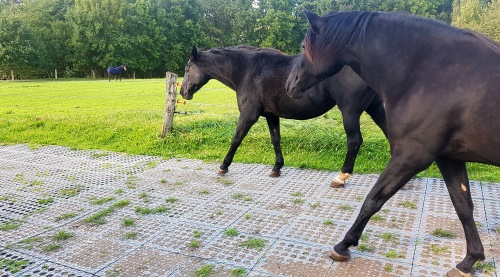
These are a life saver for deep muddy paddocks. I installed these myself and I’m a 64 year old woman with Parkinson’s! I took a hoe and a metal rake to knock the points off the mud a little and started laying them down. Now I can go in the gate with the wheelbarrow and the horses can walk to the water without sinking in the mud 8 inches. The subsequent rows were a little harder to lay by myself so I put them together first then tucked them in as a unit by 3’s. I wish they were a little cheaper I’d have gotten more. The horses started walking on them right away.
Brittany –
We are so glad to hear that these worked well for you! I know you didn’t want to have to worry about ground prep. Sounds like the horses approve as well!
Carolyn Sullivan –
I probably have every mud solution somewhere on my property with the horses: from the solid concrete to just fill and everything in between. Having had horses for 60 years (I am 73) on my own property, the problems are endless.
The mud grids appear to be the best solution. They can be put down by yourself with little to no ground preparation. I purchased them for two areas. 1) I have a bid National Show Horse (16 1/2 hands probably 1400 pounds) that uses a pasture connected to his mud paddock (which has a portion of it done with gravel, plastic grid and filled with sand, and another portion that is with geo tech fabric and gravel as a driveway) but the gateway area (which has a pond beyond that I have tried to drain the area to) was a constant mud puddle. Often he got left in as I couldn’t make it to the gate to open. I put the grids down about 6 rows wide and 12/14 tiles long. I think it took about an hour or so to put them in place and the metal fence on top. Opened the gate and Drachma went right over it. It has been in almost a year and I never have had mud issues, can always get to the gate.
2) was along the arena as an alleyway out of the barn. The water would come off the roof and make a huge mud area that the horses refused to go through (they can use another door), but I wanted to make this a separate area for one horse. Put the grids down about 3 wide and 5 long – no longer a problem. Sometimes there is water over it but I and the horses can still walk on it without sinking in.
Anissa Fuller –
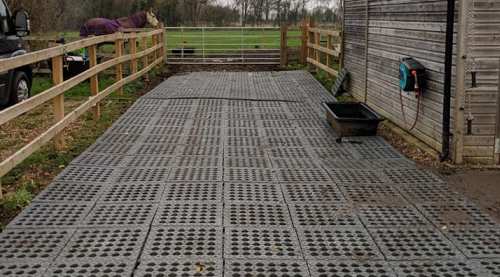
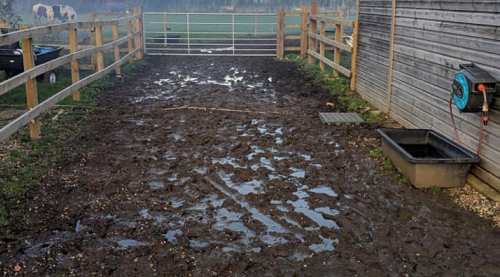
We live on a hillside, and could not get a tractor to do any ground prep for other mud-control ideas so found these grids and wanted to try due to the very little prep required. So glad we did. It took my husband and I less than 2 hours to lay about 40 grids over a soupy muddy mess at a gate that we use often for our horses. We laid them out 1 row at a time (3-5 grids), and it worked best for us to put together the next row before pushing that row into an existing row. Horses walked over them immediately and did fine. We saw the soupy mud come up through some of the holes when the horses stepped on the grids, but the grids held up great and no more sinking into the mud at this gate. It was a huge inconvenience for us to walk through that gate, and probably a safety concern, so we are very pleased with the results. I’m including a before and after pics. We did shovel a lot of the soupy mud onto the grids and scraped it over the grid so the mud would go through the holes and help create suction. We’ll probably add some sand over the top too although I and my horse found no slipping issue whatsoever on the grids with a thin layer of mud over them.
Brittany –
Thank you so much for taking the time to leave a review! We love the before and after photos as well. Glad they are working out for you!
Linda M –
I had been fighting with mud in my ponies paddock for years. I decided to give these panels a try. A friend and I put in a walk way to the pasture in less than an hour, in January… at night! It worked so well that I made a second trip and bought more. My ponies have a patio! They’ll have a year round dry area now.
Brittany –
Thank you for your review, Linda! These grids have become so popular!
Kevin M. (verified owner) –
Price was fair for the partail pallet. This was a repeat purchase of these stabilization squares. Product is good and durable which is good because the ones received this time from Cushman’s had definitely been used before. Mud and foot prints all the way through the pallet, but only one broken tab that seemed to have happened while the pallet was being created. Shipping was great, driver was able to drop a little ways down gravel driveway, and we could break down pallet from there.
Brittany –
We appreciate the feedback Kevin! The mud grids we shipped were brand new but the coloration of them can vary due to the recycling process. The outer edges of the grids get lightened by the sun and should become the same color once laid out for a bit. We apologize for the broken tab and would be happy to send you a replacement. We will send you an email.
Kevin M (verified owner) –
The mud grids are great, installing in 2nd area this year and plan on a third area next year. Cushman’s stands behind their sales too. I didn’t really request it but they sent me a new tile for the one with a broken tab, that’s good customer service, and worth at least a star.
Chris –
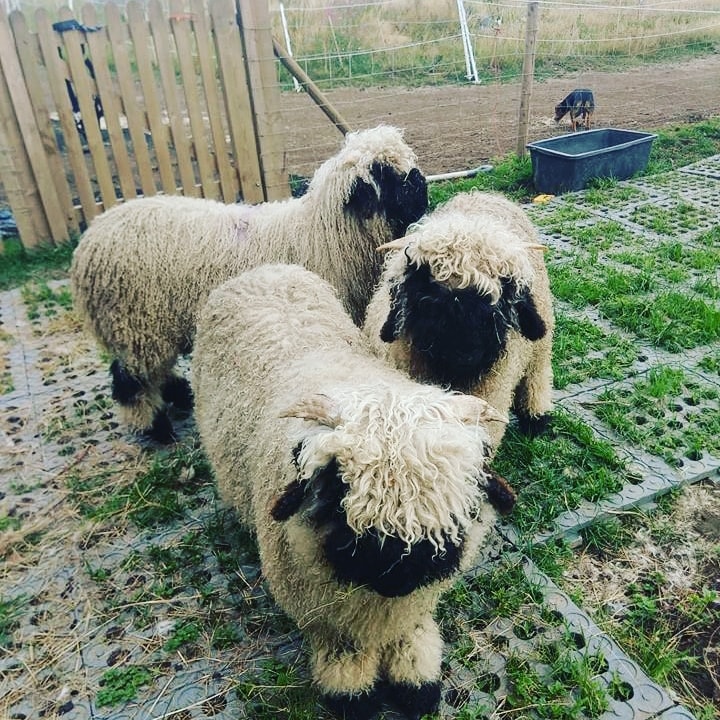
After much research on muddy paddock solutions, I purchased these tiles as a first attempt to fix the muck pit at the gate that my sheep and Pygmy goats had to walk through to reach their paddocks. I’m usually bad at making decisions but this time I got it right – these tiles are the perfect solution! We’ve had them in place for almost a year now and they are still doing their job! We are planning on getting more tiles this spring for the other mud pits. It did take the sheep and goats a few days to get used to the tiles, but it’s all good now. In the warm season grass grows through the tiles which is nice for the sheep and goats. I highly recommend these tiles!
Brittany –
Thank you for the great review Chris! The mud grids are very popular for high traffic areas like gates and we are glad to hear that your sheep and goats are enjoying them. We have plenty in stock for your other areas this spring. The grids protecting the ground so that grass can grow through them is definitely an added bonus!
Chris –
We had issues with deep sticky mud at the paddocks’ gates. We bought 9 of the mats last year to make a path through one of the gates for my goats and sheep. They work great and we’re very easy to install. The grass has pretty much grown through the mats and no more mud! They have also held up well to our compact tractor driving over them regularly. We are buying more for the other gates as well as some other wet spots in the barnyard. It did take the goats (Pygmies) and the sheep (Babydolls) some time to get used to the mats (I think the holes spooked them but their hooves were large enough to not get them stuck in the holes) but now that’s a nonissue. The mats are pricey but worth it to not get my boots stuck in the muck, and my critters like not having muddy hooves! I highly recommend!
Janet V. (verified owner) –
Ease of purchase and service was outstanding when came for pick up.